BladePipe🔗
BladePipe is a real-time end-to-end data integration tool, offering 40+ out-of-the-box connectors for analytics or AI. It allows to move data faster and easier than ever, with ultra-low latency less than 3 seconds. It provides a one-stop data movement solution, including schema evolution, data migration and sync, verification and correction, monitoring and alerting.
Supported Sources🔗
Now BladePipe supports data integration to Iceberg from the following sources:
- MySQL/MariaDB/AuroraMySQL
- Oracle
- PostgreSQL
- SQL Server
- Kafka
More sources are to be supported.
Supported Catalogs and Storage🔗
BladePipe currently supports 3 catalogs and 2 object storage:
- AWS Glue + AWS S3
- Nessie + MinIO / AWS S3
- REST Catalog + MinIO / AWS S3
Getting Started🔗
In this article, we will show how to load data from MySQL (self-hosted) to Iceberg (AWS Glue + S3).
1. Download and Run BladePipe🔗
Follow the instructions in Install Worker (Docker) or Install Worker (Binary) to download and install a BladePipe Worker.
Note: Alternatively, you can choose to deploy and run BladePipe Enterprise.
2. Add DataSources🔗
- Log in to the BladePipe Cloud.
- Click DataSource > Add DataSource.
-
Add a MySQL instance and an Iceberg instance. For Iceberg, fill in the following content (replace
<...>with your values):- Address: Fill in the AWS Glue endpoint.
- Version: Leave as default.
- Description: Fill in meaningful words to help identify it.
- Extra Info:
- httpsEnabled: Enable it to set the value as true.
- catalogName: Enter a meaningful name, such as glue_
_catalog. - catalogType: Fill in
GLUE. - catalogWarehouse: The place where metadata and files are stored, such as s3://
_iceberg. - catalogProps:
{
"io-impl": "org.apache.iceberg.aws.s3.S3FileIO",
"s3.endpoint": "https://s3.<aws_s3_region_code>.amazonaws.com",
"s3.access-key-id": "<aws_s3_iam_user_access_key>",
"s3.secret-access-key": "<aws_s3_iam_user_secret_key>",
"s3.path-style-access": "true",
"client.region": "<aws_s3_region>",
"client.credentials-provider.glue.access-key-id": "<aws_glue_iam_user_access_key>",
"client.credentials-provider.glue.secret-access-key": "<aws_glue_iam_user_secret_key>",
"client.credentials-provider": "com.amazonaws.glue.catalog.credentials.GlueAwsCredentialsProvider"
}
See Add an Iceberg DataSource for more details.
3. Create a DataJob🔗
- Go to DataJob > Create DataJob.
-
Select the source and target DataSources, and click Test Connection for both. Here's the recommended Iceberg structure configuration:
{
  "format-version": "2",
  "parquet.compression": "snappy",
  "iceberg.write.format": "parquet",
  "write.metadata.delete-after-commit.enabled": "true",
  "write.metadata.previous-versions-max": "3",
  "write.update.mode": "merge-on-read",
  "write.delete.mode": "merge-on-read",
  "write.merge.mode": "merge-on-read",
  "write.distribution-mode": "hash",
  "write.object-storage.enabled": "true",
  "write.spark.accept-any-schema": "true"
}
-
Select Incremental for DataJob Type, together with the Full Data option.

-
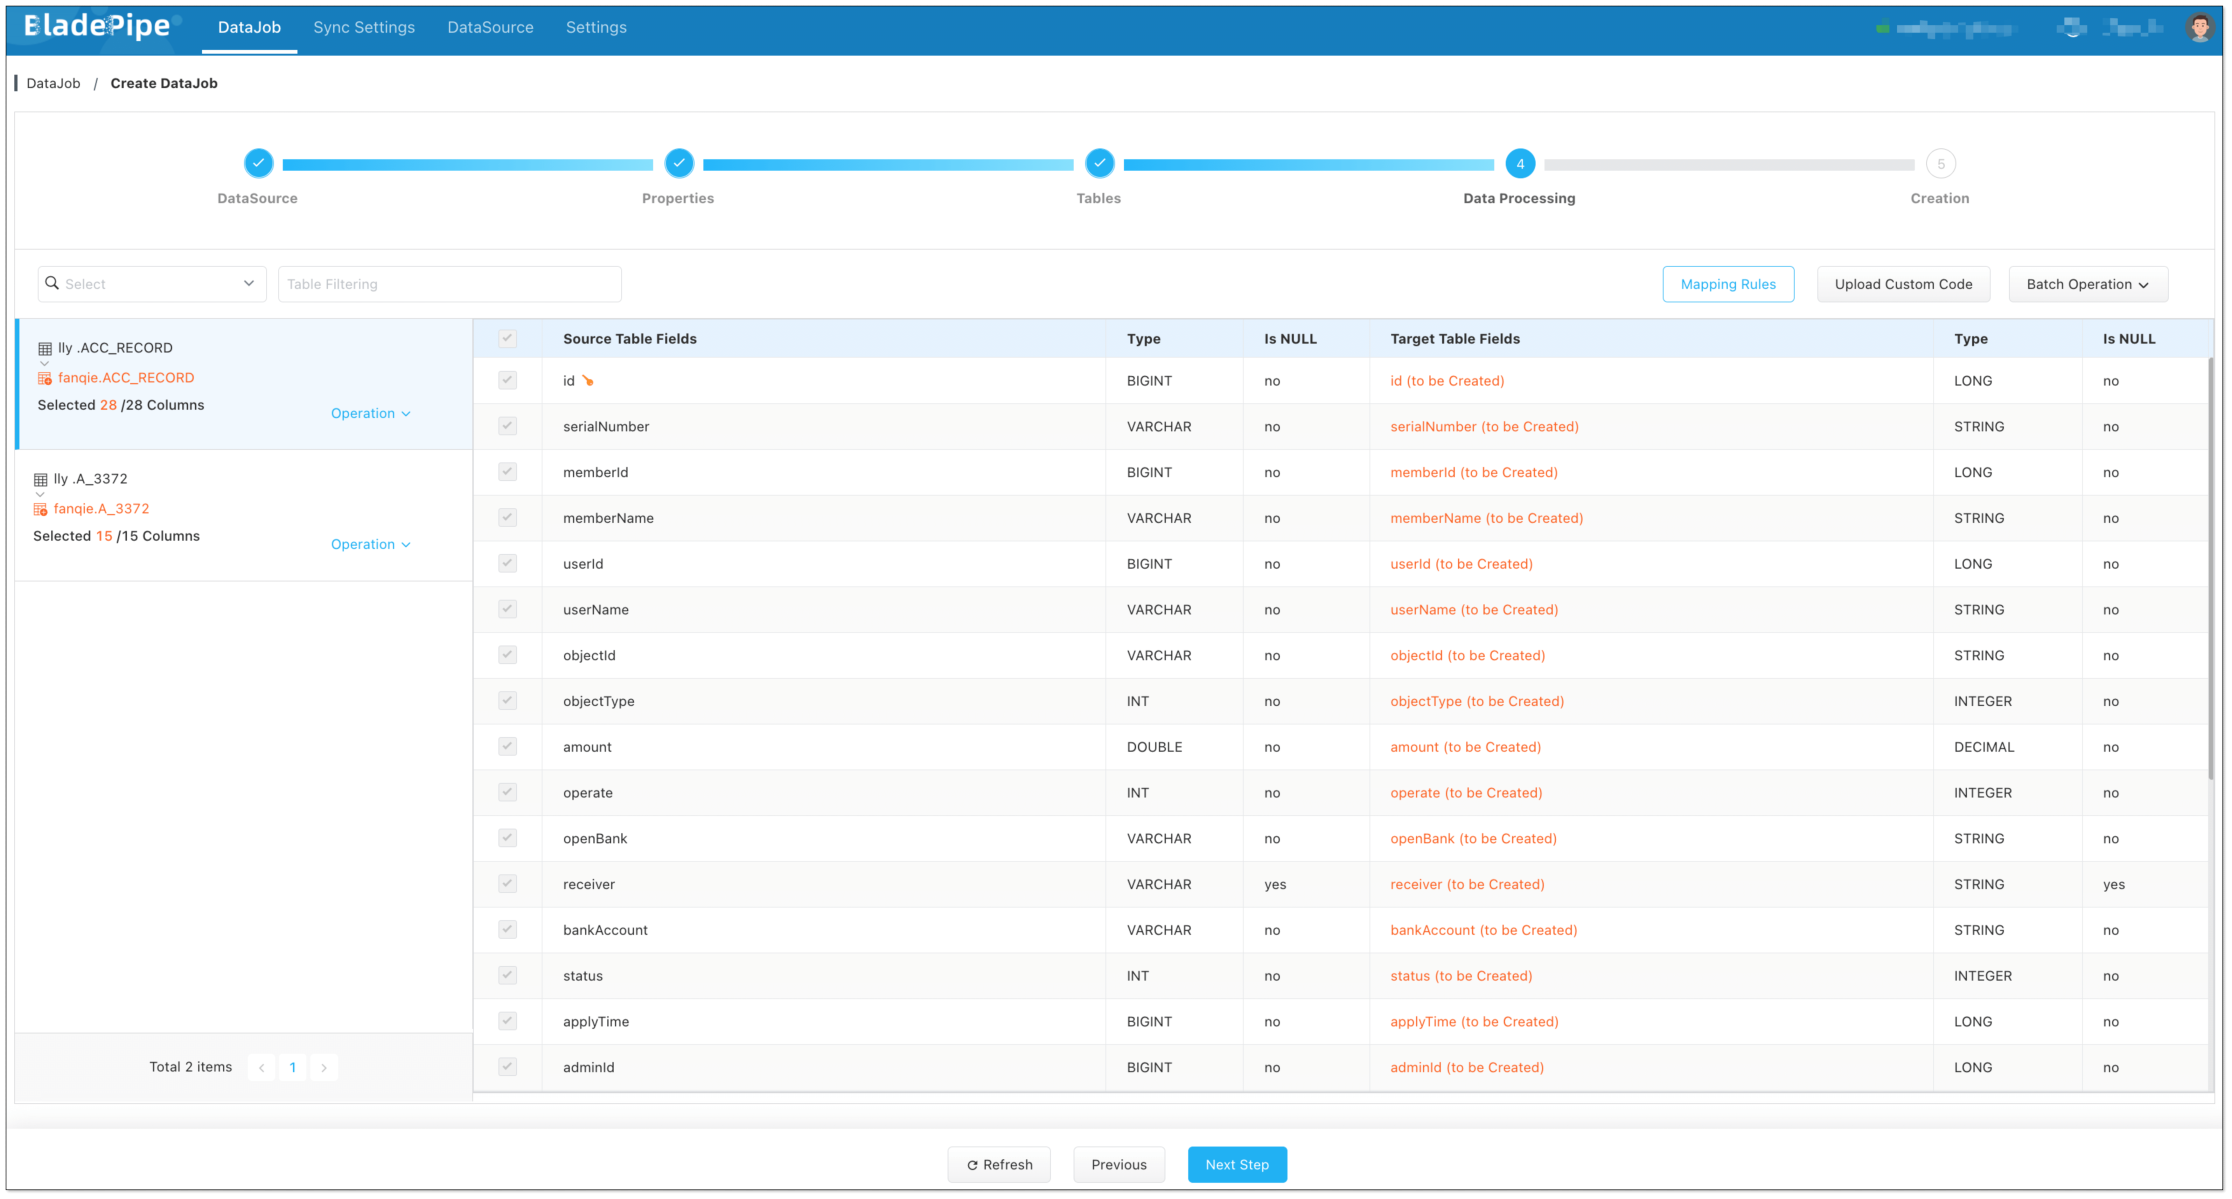
Select the tables to be replicated.

-
Select the columns to be replicated.
-
Confirm the DataJob creation, and start to run the DataJob.
